Mac diagnostic test, model by model: how to start it on every Mac sold today
The Apple Diagnostics invocation differs by chassis. MacBook Pro and MacBook Air use the Touch ID button. Mac mini, Mac Studio, Mac Pro, and the M-series iMac use the rear power button. Intel Macs of any family still use the original hold-D keystroke.

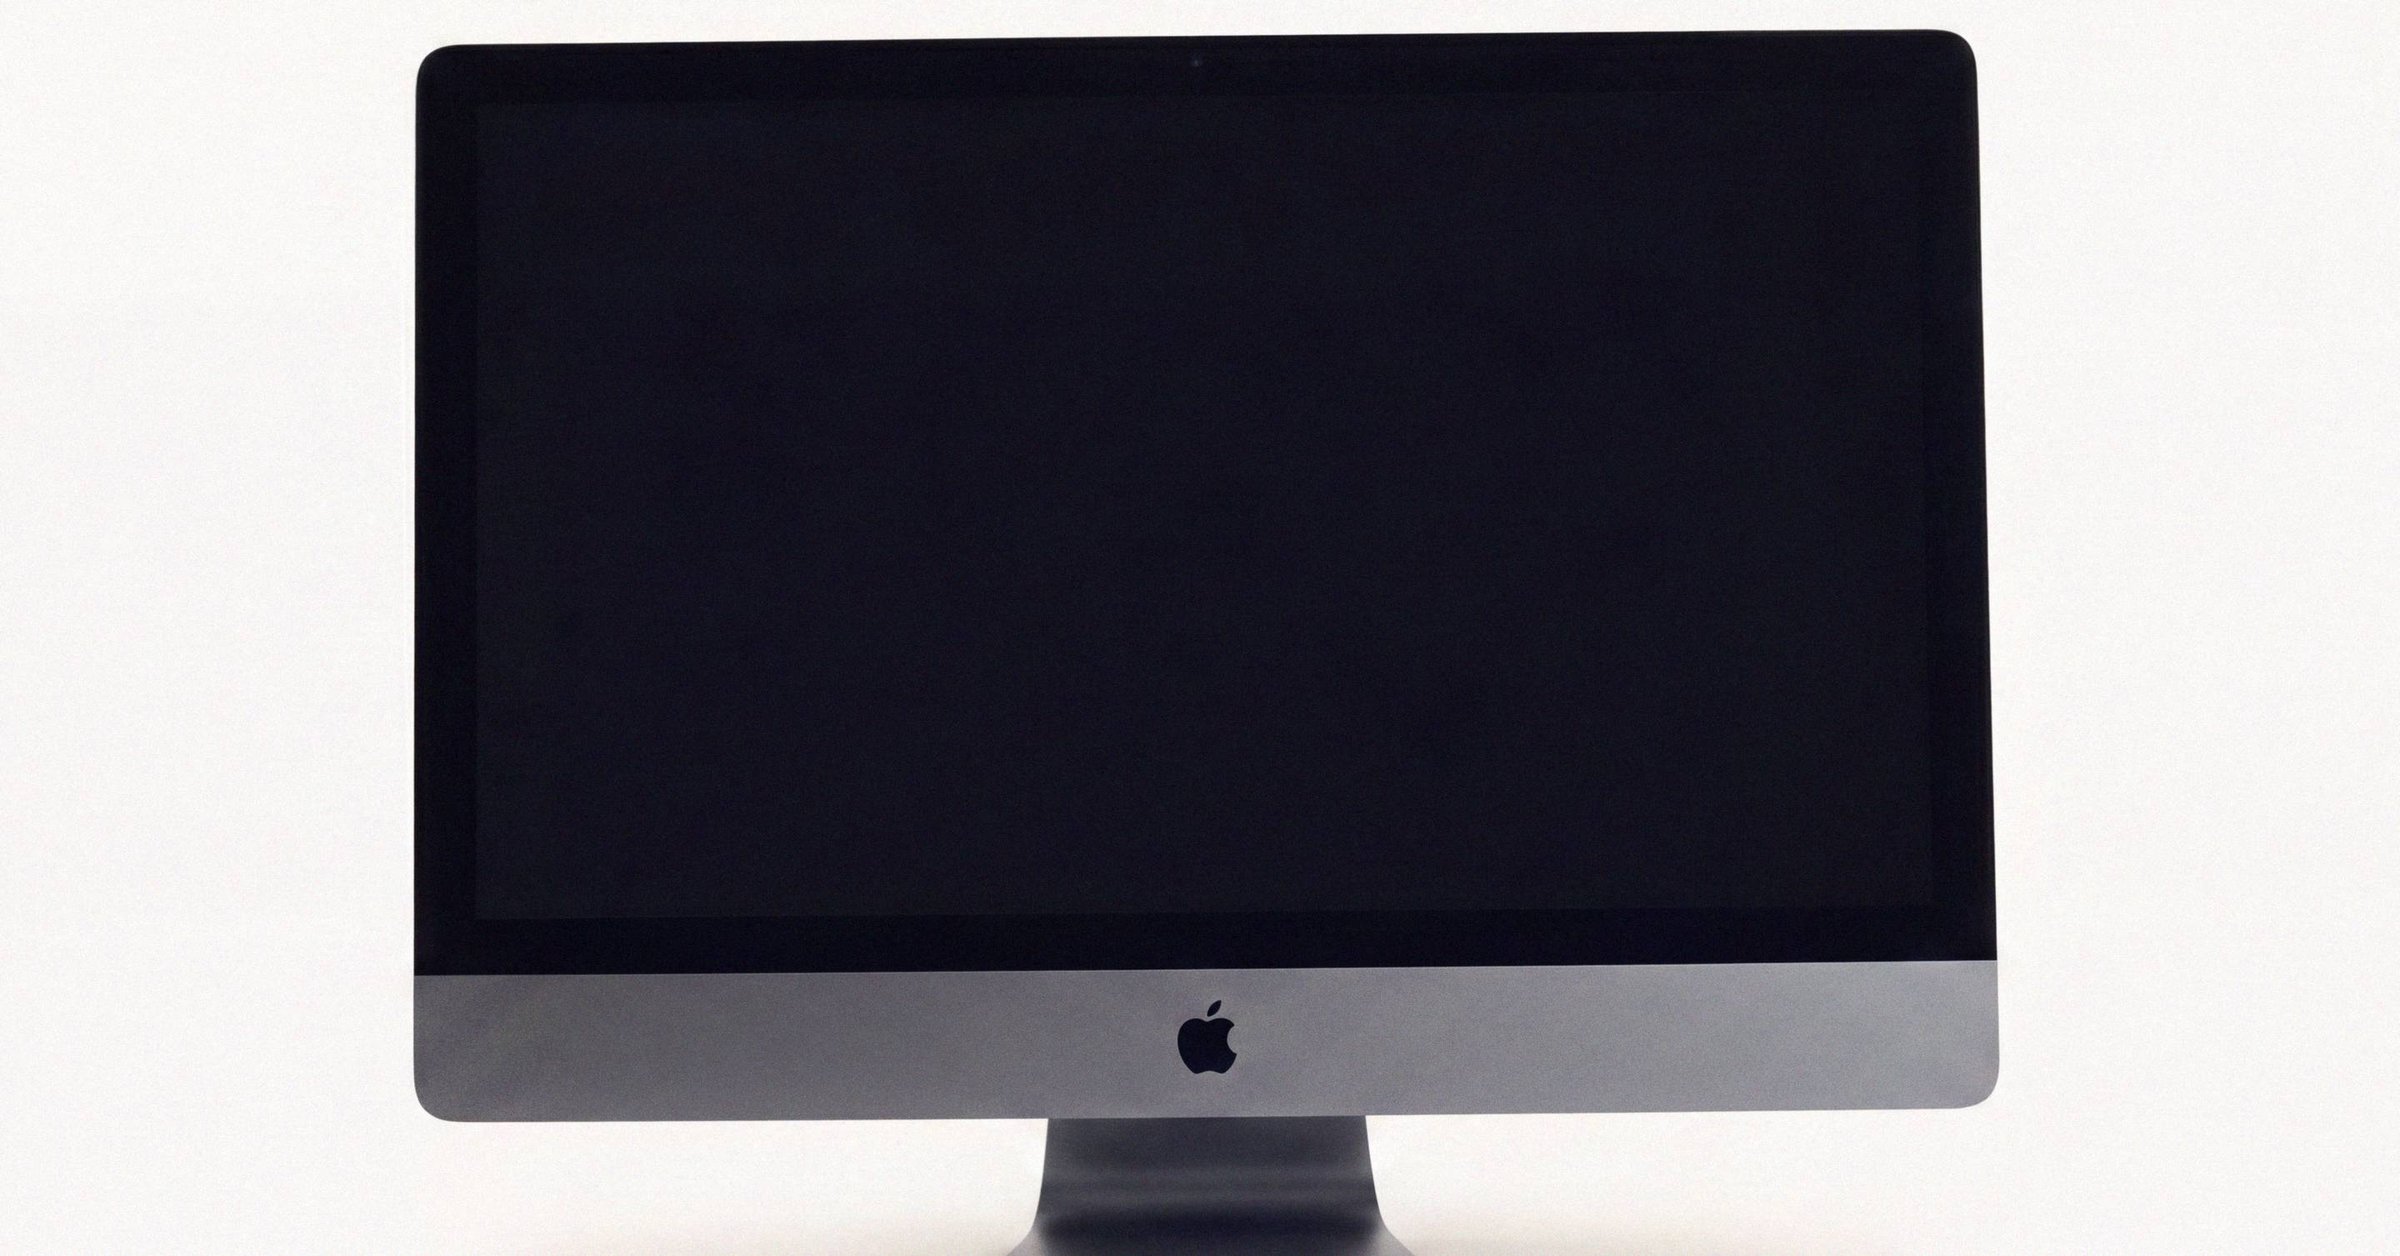
Mac diagnostic test, model by model: how to start it on every Mac sold today#
Apple Diagnostics is the same test across the current Mac lineup, but the way to start it depends on the chassis. MacBook Pro and MacBook Air use the Touch ID button. Mac mini, Mac Studio, Mac Pro, and the M-series iMac use the rear physical power button. Intel Macs of any family still use the original hold-D-at-boot keystroke, with Option-D as the fallback that forces an internet-based run.
The result of the test, the codes it returns, and what to disconnect first are identical on every model. The only thing that varies is where the power button lives on the chassis you have.
Apple Silicon MacBook Air and MacBook Pro#
On the M-series laptops, the Touch ID power button (top-right corner of the keyboard on every current MacBook Pro and MacBook Air) is what gets you into the startup-options window.
- Shut down. Apple menu → Shut Down, or hold the power button about 10 seconds if the Mac is frozen.
- Disconnect peripherals except keyboard, mouse, display, Ethernet (if used), and AC power.
- Press and hold the Touch ID power button. Keep holding past the Apple logo.
- Release when the startup-options window appears, showing your startup disk and a gear icon labeled "Options."
- Press and hold Command-D. The Mac reboots into Apple Diagnostics.
Choose a language, agree to the terms, and pick "Run Offline" if prompted.
The Touch ID button is the same physical key as the power button on every M-series MacBook. It is the power button on the underlying hardware; the fingerprint reader is a layered function.
Apple Silicon Mac mini, Mac Studio, Mac Pro, and M-series iMac#
The desktop chassis has no Touch ID. The rear physical power button substitutes.
- Shut down.
- Disconnect peripherals.
- Press and hold the rear power button. Keep holding past the Apple logo.
- Release at the startup-options window.
- Press and hold Command-D.
The location of the rear power button:
- Mac mini: rear panel, lower right. Recent models have a flush button.
- Mac Studio: rear panel, lower left.
- Mac Pro tower: top of the chassis, near the front handle.
- Mac Pro rack: front of the chassis.
- M-series iMac: underside of the display, rear-left, behind the chin.
The procedure is otherwise identical to the laptops. The test image is the same. The reference codes are the same. The only thing that differs is whether you reach the button with one hand on the keyboard or one hand on the back of the machine.
Intel Macs (any family)#
The original Intel path still works on every Intel Mac that shipped, which is roughly the full pre-2020 lineup.
- Shut down.
- Disconnect peripherals.
- Power on while immediately holding the D key.
- If D does not work (typically because the local diagnostic files are missing, or the drive was replaced), reboot and hold Option-D instead. That forces the internet-based diagnostic, which downloads the hardware-specific payload from Apple's servers over Wi-Fi or Ethernet.
- Release when you see the language picker or progress bar.
The Option-D fallback is more common than people expect. Any Intel Mac that had its drive replaced (genuine Apple replacement or otherwise) often does not have the local diagnostic image, and the hold-D path returns no response. Option-D fetches a fresh image and runs the same diagnostic.
For a battery code on Intel Mac specifically (PPT004), Apple recommends rerunning over the internet with Option-D before scheduling service. The online path logs an evaluation against the serial that Apple Support recognizes.
Why the M-series path is different#
Traditional keyboard boot interrupts are disabled at the bootloader level on Apple Silicon to enforce the secure boot chain managed by iBoot and the Secure Enclave. That is the structural reason the keystroke at cold boot no longer works on M-series. You cannot interrupt the boot path with a keystroke. You have to reach the startup-options window first, and the power-button-hold is what does that.
The diagnostic image itself lives in the always-resident recoveryOS environment (sometimes called 1TR, "One True Recovery"), and its cryptographic signature is verified by iBoot before it runs in an isolated container, per Apple's startup-key reference. The same boot-chain enforcement that requires the power-button-hold to start Apple Diagnostics also verifies the diagnostic image's signature before it runs.
For the full architectural comparison between the Intel and Apple Silicon diagnostic flows, the complete startup procedure on both architectures covers it end to end.
What to disconnect on every model#
Apple's published guidance is the same across the lineup: leave keyboard, mouse, display, Ethernet, and AC connected. Disconnect everything else.
External devices are the single most common source of false codes on test runs:
- NDD001 (USB hardware) commonly reflects a connected external USB device.
- NDT001 through NDT006 (Thunderbolt) commonly reflect a connected Thunderbolt peripheral.
- NDR007 (external input device detected) clears after disconnecting the device.
All three clear after disconnecting the peripheral and rerunning. Treat the first run of any pre-purchase or pre-listing audit as a sanity check: disconnect everything, rerun if you see an NDD or NDT code, and move on.
Place the Mac on a hard flat ventilated surface. The fans may spin up during the run.
After the run#
The result screen is the same on every model. A clean run returns the reference code ADP000 ("No issues found"). Any other code is a three-letter prefix plus three digits that maps to a specific subsystem on Apple's reference-code list. The prefix identifies the subsystem; the three digits identify the specific failure mode within that subsystem.
From the results screen the available actions are identical across chassis:
- Command-R or "Run the test again." For intermittent codes, run two or three times before concluding a failure.
- R. Restart normally.
- S. Shut down.
- Command-G or "Get started." Reboots to a Safari page that pre-fills Apple's support flow with your Mac's serial number and the codes. This is the path Apple Support agents expect customers to have used before calling.
For the full table of what Apple Diagnostics actually covers and what it misses, the answer is layered: it is a presence/threshold test that covers logic-board components, and it does not catch intermittent dead keys, hidden battery wear past the binary PPT codes, SSD endurance, or sustained-load thermal throttling. The matching tool for each gap lives outside Apple Diagnostics: CoconutBattery for battery cycle count, smartctl for NVMe SMART, asitop or powermetrics for thermal behavior under load.
macOS Tahoe 26 changed the test itself#
The Apple Silicon invocation path described above (power button to startup options, then Command-D) is the same on Tahoe 26, but on Tahoe 26 and later the test itself shifted from a single automated sequence to an interactive, user-selectable suite. You can target a specific subsystem (built-in display, keyboard/key matrix, trackpad, or ports) for standalone validation rather than running every check in order.
On earlier macOS the test still runs automatically end-to-end. On Intel Macs, which never updated to Tahoe, the original automatic sequence is still the only option.
What this means for the reader#
The single piece of model-by-model knowledge you need is where the power button is. On a laptop it is the Touch ID button. On a desktop chassis it is the rear physical power button. After that, the procedure is identical: shut down, disconnect peripherals, hold the power button past the Apple logo, release at the startup-options window, then hold Command-D.
Intel Macs use a different path because Apple's secure-boot architecture changed when the M-series shipped. The original hold-D-at-boot keystroke still works on every Intel Mac in circulation, and Option-D forces an internet-based run when the local image is missing.
Disconnect peripherals before starting. ADP000 is the only clean result. Anything else maps to a subsystem code on Apple's published list. For the buyer-facing summary of how that result fits into a pre-purchase workflow, the Macfax pre-purchase pass on the device itself is what Macfax exports as a shareable signed record. For the wider context, the complete 2026 Mac diagnostics reference covers the rest of the diagnostic stack the test fits into, including the smartctl walkthrough for the NVMe SMART page on Apple Silicon and how Parts & Service on Tahoe 26 surfaces logic-board provenance.
Related posts
Mac diagnostic mode: how to enter recovery and diagnostics on every Mac
Apple Silicon, Intel, and Apple Diagnostics are three different pre-boot environments, with three different entry sequences. Apple Silicon uses the power-button-to-startup-options path; Intel uses hold-D or Option-D at boot; macOS Recovery is a separate environment from Apple Diagnostics. Here is the entry table for every Mac sold today.
Intel Mac vs Apple Silicon Mac: how diagnostics actually differ
Apple Silicon and Intel Macs run different diagnostic stacks. Invocation, storage architecture, Parts & Service, Battery Health Management, and third-party SMART kernel extensions all behave differently. The same code on the same screen can mean a completely different physical problem depending on the silicon underneath.
How to use Apple Diagnostics: invocation, ADP000, and what to do next
Apple Diagnostics returns one of two things: ADP000 (no issues found) or a three-letter-plus-three-digit code. ADP000 is shallow by design. Here's how to read the result, when to rerun, and which third-party tool fills which gap.
Written by
Marcus WilliamsMarcus Williams covers Mac hardware and repair for Macfax. He spent six years on the bench at an Apple Authorized Service Provider in the Pacific Northwest before going independent, most of that time on logic-board repair, display assembly swaps, and the failure patterns Apple's diagnostics don't surface. He writes about what's inside a Mac, what breaks first, and what a serial number can and can't tell you about a unit's history.
More posts by Marcus →