Mac diagnostic mode: how to enter recovery and diagnostics on every Mac
Apple Silicon, Intel, and Apple Diagnostics are three different pre-boot environments, with three different entry sequences. Apple Silicon uses the power-button-to-startup-options path; Intel uses hold-D or Option-D at boot; macOS Recovery is a separate environment from Apple Diagnostics. Here is the entry table for every Mac sold today.

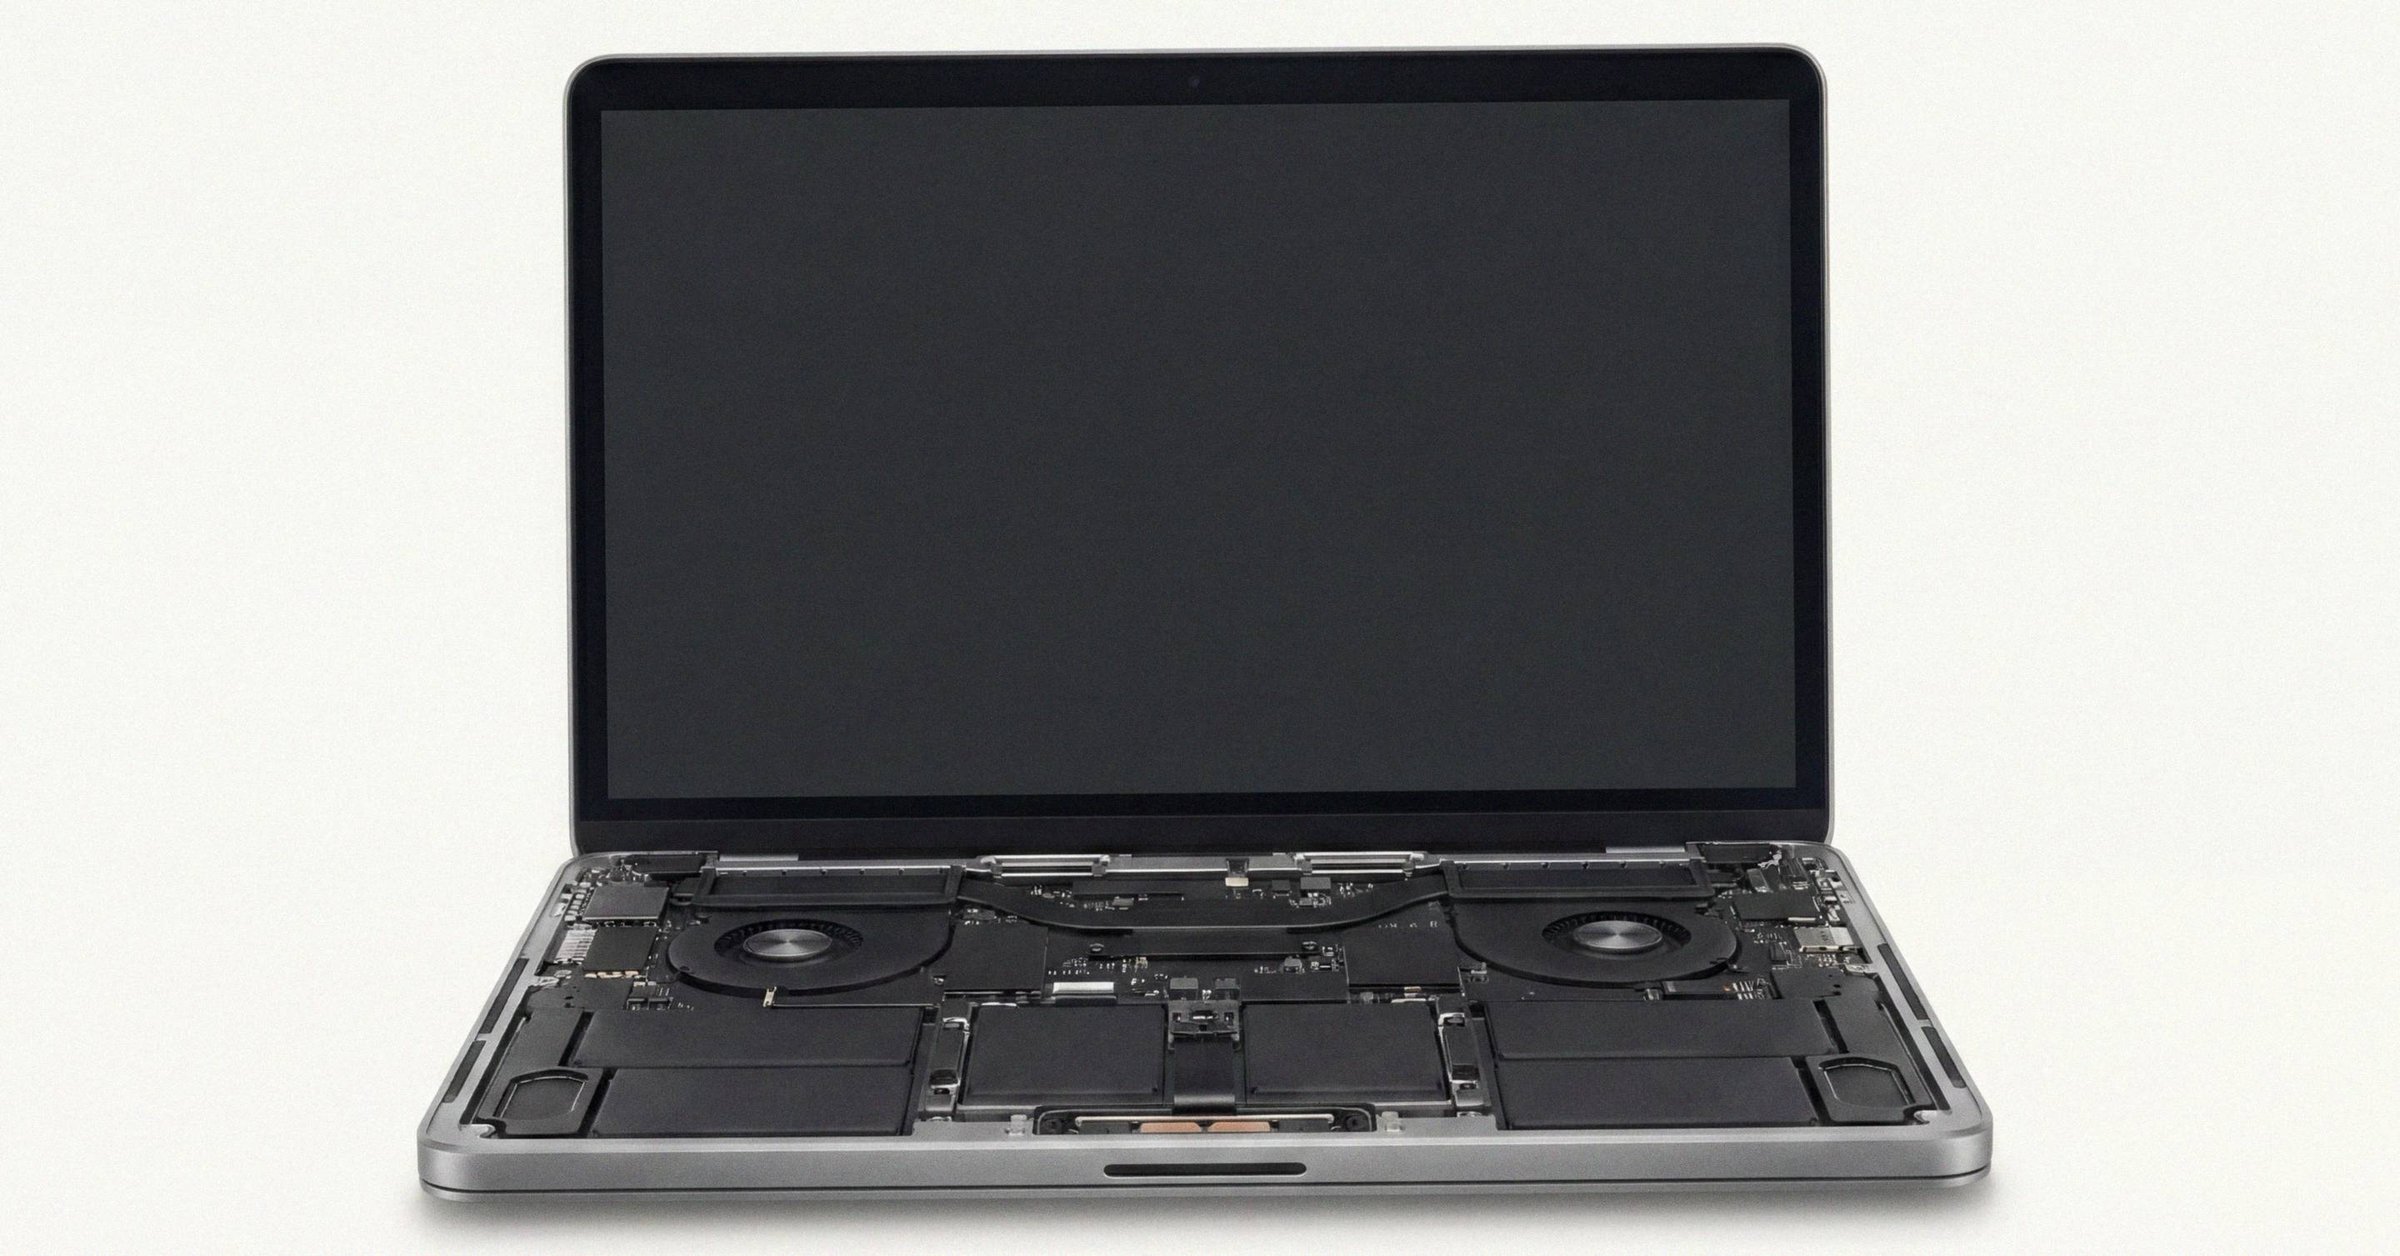
Mac diagnostic mode: how to enter recovery and diagnostics on every Mac#
A Mac has three pre-boot environments, not one. Apple Diagnostics is a separate environment from macOS Recovery, and the entry sequence is different on Apple Silicon than on Intel. Knowing which environment you want, and which keystroke gets you there on your specific Mac, is the difference between a 30-second test and a 30-minute search.
This post is the entry table for every Mac sold today. Apple Silicon (M1 through M5) on the power-button-to-startup-options path; Intel on the hold-D-at-boot path; macOS Recovery via Command-R on Intel or Options on Apple Silicon. The Tahoe 26 interactive suite is covered at the end.
The three pre-boot environments#
It helps to name them before mapping the keystrokes.
- Apple Diagnostics is a pre-boot hardware-test image that does not load the macOS kernel. It runs the 2 to 5 minute presence and threshold sweep and returns reference codes (ADP000 is clean; everything else maps to a subsystem).
- macOS Recovery loads enough of macOS to reinstall the OS, restore from Time Machine, run Disk Utility, change Startup Security settings, or open Terminal. It is not a hardware test.
- recoveryOS on Apple Silicon is the always-resident environment that contains both the Apple Diagnostics image and the recovery utilities. Sometimes called 1TR (One True Recovery). iBoot verifies recoveryOS's cryptographic signature before any of it runs, and Apple Diagnostics runs in an isolated container inside it.
Apple Diagnostics is not macOS Recovery. They serve different purposes. The same startup-options window leads to both on Apple Silicon, which is part of why the confusion is common.
Apple Silicon entry (M1 through M5)#
For MacBook Air and MacBook Pro:
- Shut down (Apple menu -> Shut Down; hold the power button about 10 seconds if frozen).
- Disconnect peripherals except keyboard, mouse, display, Ethernet (if used), and AC power.
- Press and hold the Touch ID power button. Keep holding past the Apple logo.
- Release when the startup-options window appears. It shows your startup disk and a gear icon labeled "Options."
- To run Apple Diagnostics, press and hold Command-D. The Mac reboots into the diagnostic.
- To run macOS Recovery, click Options, then Continue.
For Mac mini, Mac Studio, Mac Pro, and M-series iMac, the flow is the same, but the chassis has no Touch ID. Hold the rear physical power button past the Apple logo, then Command-D for diagnostics or Options for Recovery.
The most common mistake is releasing the power button too early. The Apple logo appears, then continues to be displayed for several seconds as the Mac transitions to the startup-options window. Keep holding until the startup-options UI is actually on screen.
The startup-options UI itself is the security-controlled handoff. From there you choose between Apple Diagnostics, macOS Recovery (via Options), or a normal boot. iBoot will not let a keyboard hold during early boot redirect the boot target the way Intel firmware did.
Intel entry#
For Apple Diagnostics:
- Shut down.
- Power on while immediately holding the D key.
- Release when the language picker or progress bar appears.
If D does not work, either because the local diagnostic files are missing or because the drive has been replaced, use Option-D instead:
- Shut down.
- Power on while holding Option-D.
- The Mac downloads the hardware-specific diagnostic payload from Apple over Wi-Fi or Ethernet, then runs it.
Option-D is also the path Apple specifically recommends for confirming a battery code (PPT004) on an Intel Mac before scheduling service. The online path retrieves a fresh diagnostic image and logs an evaluation against your serial number.
For macOS Recovery:
- Command-R: the macOS Recovery matching the macOS version that was last installed on the Mac.
- Option-Command-R: the latest macOS available for the Mac (downloads from Apple).
- Shift-Command-Option-R: the macOS that originally shipped with the Mac (downloads from Apple, only works on Intel Macs from 2010 or later running macOS Sierra 10.12.4 or later).
The keystroke is held immediately on power-on and released when the Apple logo or progress bar appears. If it does not work, the most common cause is a wireless keyboard that has not paired yet at the moment of boot; use a wired keyboard for the first attempt.
Why the entry sequence changed on Apple Silicon#
Traditional keyboard boot interrupts (D, Option-D, Command-R) are disabled at the bootloader level on Apple Silicon. iBoot enforces a secure-boot chain managed by the Secure Enclave, and the bootloader will not interpret a keyboard hold to redirect the boot target. That would let an attacker with physical access bypass secure boot by holding D and routing into an arbitrary image.
The startup-options window replaces the keyboard interrupt with a sanctioned UI. Power on into a controlled environment, then choose Apple Diagnostics, macOS Recovery, or a normal boot. Same outcome, different mechanism. The deeper picture of how Intel-era boot differed from Apple Silicon's secure boot chain explains why the change was load-bearing for the rest of the diagnostic story.
Tahoe 26 interactive suite#
Starting with macOS Tahoe 26 (released September 15, 2025), Apple Diagnostics on Apple Silicon shifted from a single automated sequence to an interactive, user-selectable suite. The flow into the diagnostic is the same (power button to startup options, then Command-D), but once inside you can target one of these subsystems for standalone validation:
- Built-in display
- Keyboard / key matrix
- Trackpad
- Ports
That matters for pre-sale and pre-purchase work. Instead of running every check in order, you can verify the most negotiation-sensitive subsystems independently. The change is Apple Silicon only and requires macOS Tahoe 26 or later. On Intel and pre-Tahoe Apple Silicon, the diagnostic runs in the older single-sequence mode. See MacBook system diagnostics in macOS Tahoe 26 for the suite walkthrough.
Choosing between Diagnostics and Recovery#
A short decision table for the most common reasons to enter a pre-boot environment:
| You want to | Use |
|---|---|
| Test hardware (CPU, RAM, sensors, battery presence, etc.) | Apple Diagnostics |
| Reinstall macOS | macOS Recovery |
| Erase the internal disk before sale | macOS Recovery, then Disk Utility (or Erase All Content and Settings from System Settings on Apple Silicon and T2 Macs running Monterey or later) |
| Restore from Time Machine | macOS Recovery |
| Change Startup Security policy | macOS Recovery -> Utilities -> Startup Security Utility |
| Confirm a battery code on an Intel Mac | Apple Diagnostics via Option-D (online) |
| Test only the display or keyboard or trackpad on a Tahoe 26 Apple Silicon Mac | Apple Diagnostics interactive suite |
If the question is "is my hardware OK," it is Apple Diagnostics. If the question is "how do I get the OS or disk into a usable state," it is Recovery.
Common entry mistakes#
- Holding D on an Apple Silicon Mac. Nothing happens. The keyboard interrupt was removed; use the startup-options window.
- Releasing the power button too early on Apple Silicon. The Mac just boots normally. Hold past the Apple logo until the startup-options UI is visible.
- Confusing macOS Recovery with Apple Diagnostics on Apple Silicon. The startup-options window has both: Command-D goes to Diagnostics; Options goes to Recovery. Picking the wrong one wastes a reboot.
- Using a wireless keyboard on Intel for the first key-hold attempt. Bluetooth has not paired yet at the moment of boot; use a wired keyboard.
- On Intel, holding Command-R when you wanted Apple Diagnostics. Command-R goes to Recovery; D goes to Diagnostics.
What this means for you#
If you are buying used, knowing the entry sequence cold lets you run the diagnostic at the meetup without fumbling. Apple Silicon: hold the power button past the Apple logo, release at startup options, Command-D. Intel: hold D at boot. Two sequences cover every Mac sold in the last twelve years. The pre-purchase live boot to Apple Diagnostics also pairs with a 90-second Activation Lock check before paying, since Setup Assistant after a clean wipe is where iCloud-binding actually surfaces.
If you are diagnosing a Mac you own, separating "is this a hardware problem" from "is this an OS problem" is the first triage step. Apple Diagnostics answers the first. Recovery and Disk Utility, or a clean macOS reinstall, address the second. The right environment depends on the question.
For the broader picture of what a full diagnostic pass covers across SSD, battery, identity, and tamper signals, see the diagnostic stack guide. For what Apple Diagnostics actually verifies once you are in it, see what Apple Diagnostics actually checks (and what it misses).
Related posts
Intel Mac vs Apple Silicon Mac: how diagnostics actually differ
Apple Silicon and Intel Macs run different diagnostic stacks. Invocation, storage architecture, Parts & Service, Battery Health Management, and third-party SMART kernel extensions all behave differently. The same code on the same screen can mean a completely different physical problem depending on the silicon underneath.
Apple Diagnostics: how to start the test on Apple Silicon and Intel Macs
Apple Silicon Macs start Apple Diagnostics from the startup-options window with Command-D, not the old hold-D-at-boot keystroke. Here's the exact sequence on both architectures and what to disconnect before you start.
How to use Apple Diagnostics: invocation, ADP000, and what to do next
Apple Diagnostics returns one of two things: ADP000 (no issues found) or a three-letter-plus-three-digit code. ADP000 is shallow by design. Here's how to read the result, when to rerun, and which third-party tool fills which gap.
Written by
Marcus WilliamsMarcus Williams covers Mac hardware and repair for Macfax. He spent six years on the bench at an Apple Authorized Service Provider in the Pacific Northwest before going independent, most of that time on logic-board repair, display assembly swaps, and the failure patterns Apple's diagnostics don't surface. He writes about what's inside a Mac, what breaks first, and what a serial number can and can't tell you about a unit's history.
More posts by Marcus →