DFU restore at scale: parallel wipe rigs for Apple Silicon Mac refurb
DFU restore at scale on Apple Silicon: how small refurbishers run 5 to 16 Macs through a single host. Cabling, port selection, the DFU entry sequence, and where parallel rigs from Acroname and Cambrionix actually pay off.

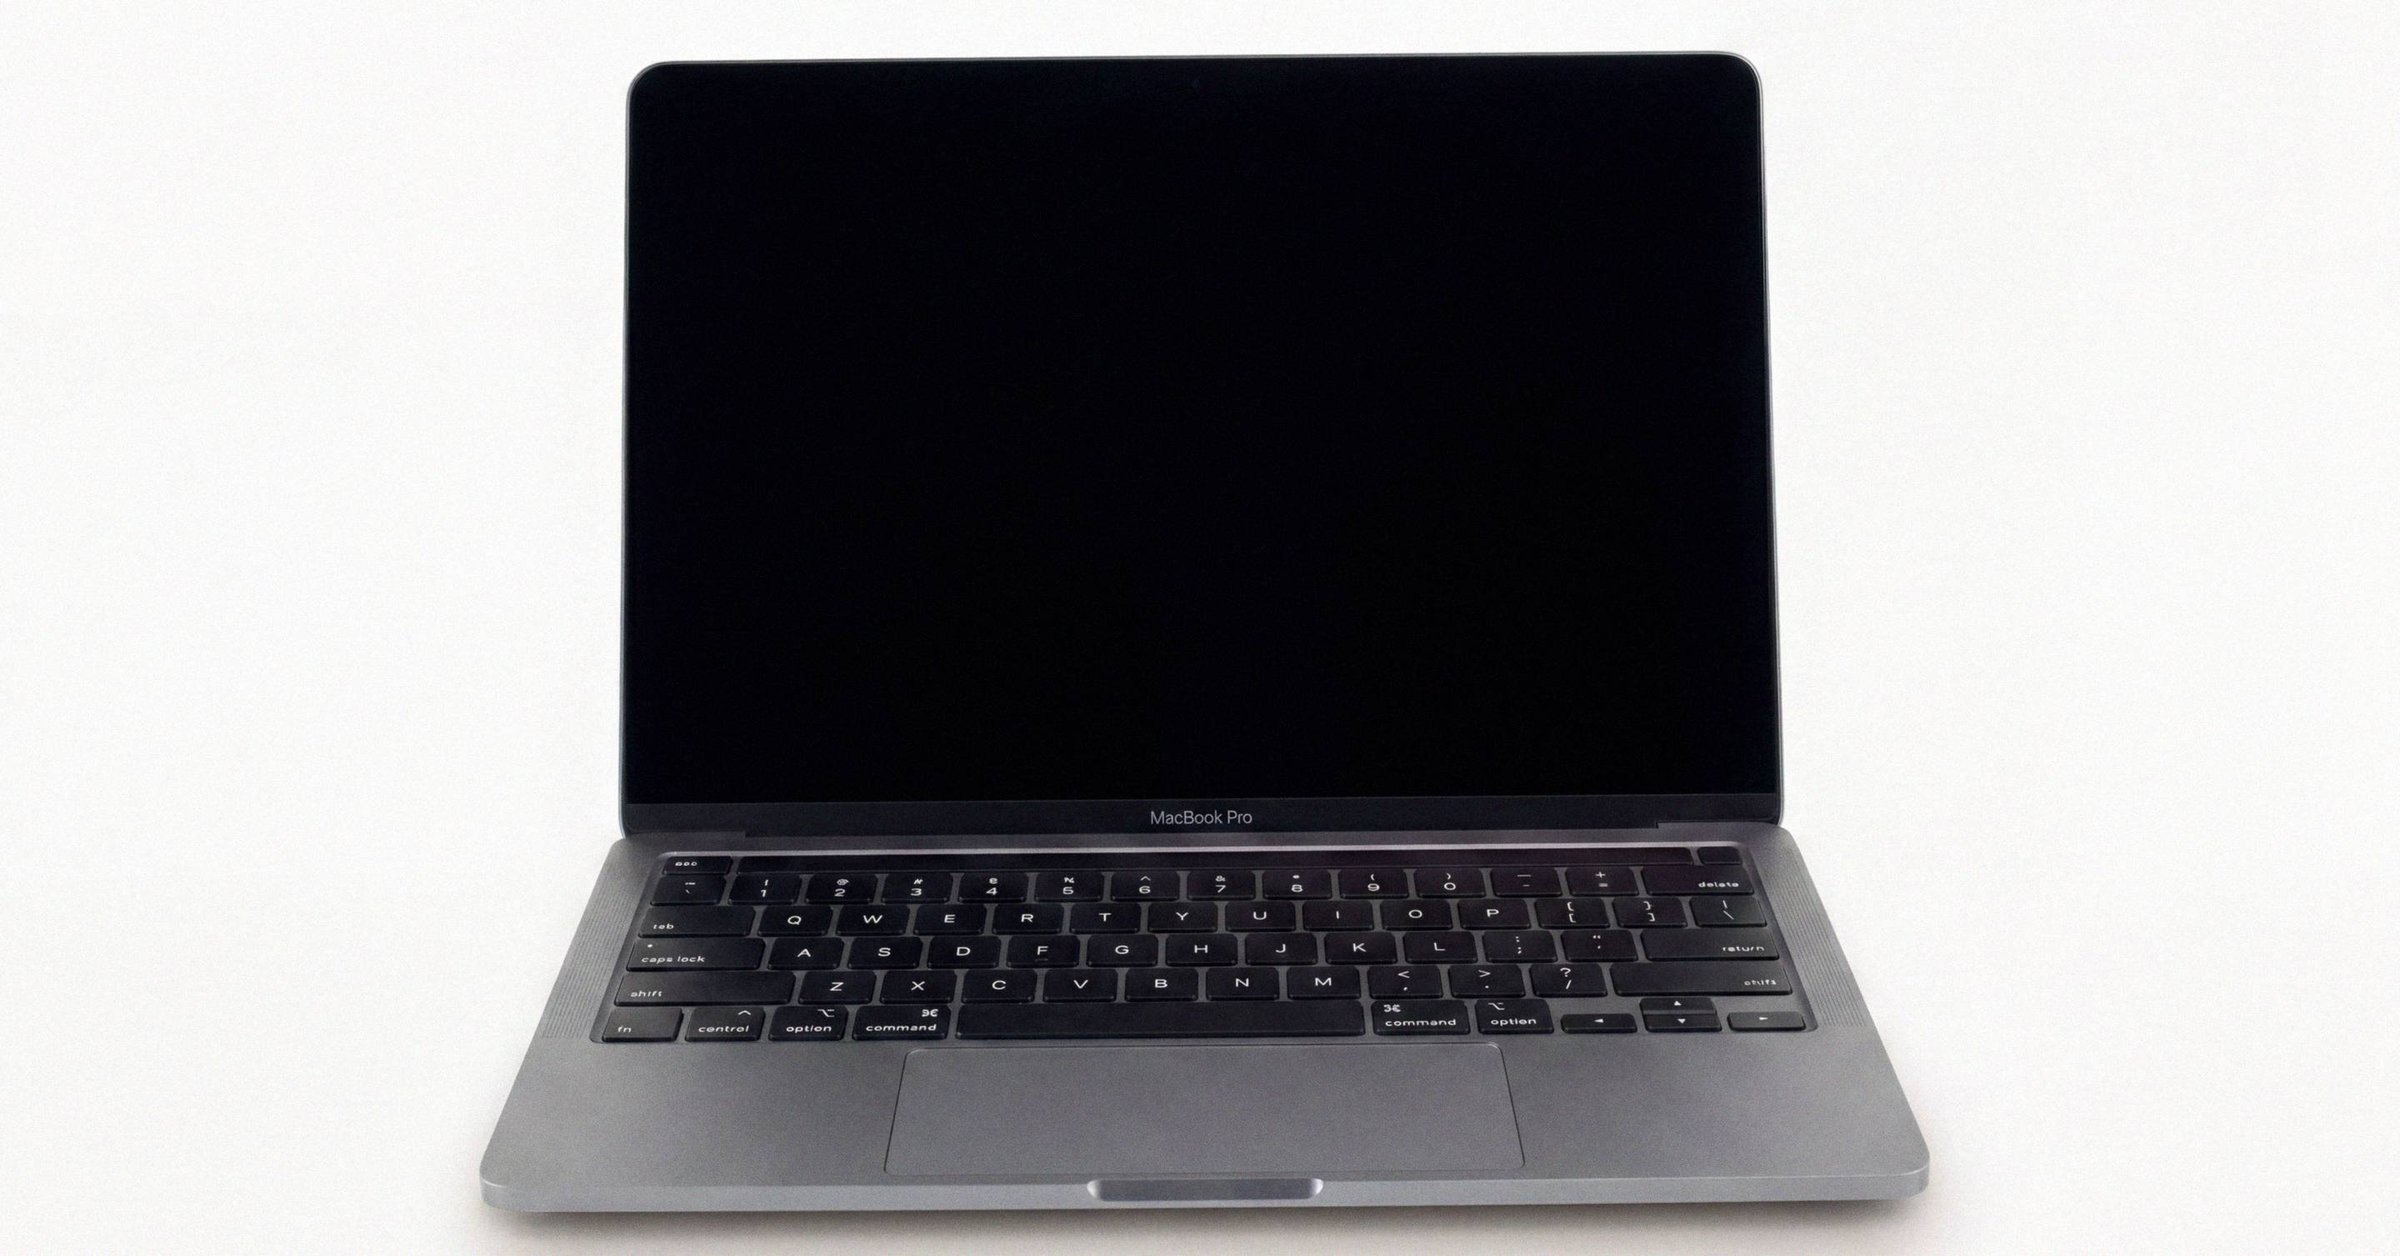
DFU restore at scale: parallel wipe rigs for Apple Silicon Mac refurb#
A single-cable, one-host-one-target DFU restore tops out at roughly 12 to 25 Apple Silicon Macs per technician per day end-to-end. Multi-port rigs push that to 30 to 60, and a 16-port Cambrionix and Blancco setup pushes the wipe step alone to about 48 Macs per hour. This is a hands-on walk through the three rigs that cover the practical range, plus the cabling and DFU-entry details that quietly break a lot of setups.
The reference Apple document is at support.apple.com/en-us/108900. It describes the single-cable case. Production refurb scale lives in the parallel-rig territory the docs don't cover. The wipe step sits inside the six-stage bulk intake for Apple Silicon Mac refurb.
The three parallel-rig tiers#
Multiple Mac mini hosts#
The cheapest and most common setup in small shops. A rack of inexpensive M1 or M2 Mac minis acts as DFU hosts. Each one runs Apple Configurator 2, each one is cabled to one target Mac, and a single technician walks the rack. Capital cost is low because the minis themselves come out of standing refurb inventory. Operational throughput is gated by the technician's walk time and the IPSW cache.
This is the right starting setup for a shop processing under roughly 20 units per day. It scales linearly with hosts but linearly with floor space and power as well, so the ceiling sits around 8 to 12 hosts before another approach pays off.
Acroname USBHub3c with DFU Automator#
A purpose-built USB-C hub from Acroname, released around 2024, that forwards the Vendor-Defined Messages that put a Mac into DFU mode. Standard USB hubs do not forward VDMs, which is precisely why a normal 4-port USB-C hub cannot drive a DFU restore. The USBHub3c does, and the result is one host Mac driving up to 5 simultaneous DFU restores.
Apple Shortcuts handles both batch workflows (start all targets together) and asynchronous workflows (start each target as it is plugged in). The shop floor pattern is one host workstation, one USBHub3c, five docked targets, one technician moving units through stations. Practical throughput sits in the 30 to 60 unit per day range for a fully-trained technician through full intake-to-listing, with the wipe step well under half the total time.
Cambrionix ThunderSync5-C16 with Blancco Eraser for Apple Devices#
The industrial tier. Cambrionix's ThunderSync5-C16 is a 16-port USB-C hub built for charge-and-sync deployments. Combined with Blancco Eraser for Apple Devices, the rig auto-detects devices in DFU mode and executes a programmatic erase-unlock-reimage flow. The joint Blancco and Cambrionix announcement puts per-batch completion under 20 minutes, which works out to roughly 48 Macs per hour through the wipe stage from one host.
That last figure measures the wipe stage in isolation. It does not include intake serialization, functional test, cosmetic grading, battery assessment, photography, or listing. The wipe step is the easiest one to parallelize on Apple Silicon, which is why it scales so far so fast. The downstream steps still serialize on technician attention.
The Blancco angle is also a compliance angle. Many enterprise ITAD customers want Blancco-generated certificates of erasure in the chain, even where the cryptographic erase on Apple Silicon is technically equivalent to anything Blancco does. The certificate is what auditors read. The full Certificate-of-Data-Destruction field set, plus what the Rev. 2 update changed in September 2025, sits in the NIST 800-88 documentation playbook on Apple Silicon.
Cabling, where setups quietly fail#
The cable has to be USB-C-to-USB-C and USB 2.0 data-capable. A Thunderbolt cable will fail to establish a connection with the DFU bootloader. This single detail is responsible for a large fraction of "Configurator can't see the target" complaints in shops new to Apple Silicon, because high-quality Thunderbolt 4 cables look identical to USB-C data cables and live in the same drawer.
The fix is to label and segregate the cables. The DFU rig should have its own bin of explicitly USB 2.0 data-capable USB-C cables, never the bin of fast Thunderbolt cables used for external SSDs.
DFU-capable port selection#
The DFU-capable port varies by model family:
- M-series MacBook Pro and MacBook Air: the leftmost USB-C port nearest the hinge.
- Mac mini: the rightmost rear USB-C port.
- Mac Studio: the front USB-C ports.
- iMac and Mac Pro: model-specific. Consult Apple's reference at support.apple.com/en-us/108900.
Cabling to the wrong port fails silently. The target enters its key combination correctly, the host sees nothing, and the technician wastes a cycle. The shop floor fix is a per-model port diagram taped to the rack, or color-coded port indicators on the rig itself.
DFU entry sequence#
For Apple Silicon MacBook Pro and MacBook Air, the entry sequence is:
- Hold the power button for about 15 seconds to fully shut down the target.
- Connect the USB-C data cable to the designated DFU port on the target. Disconnect all other accessories.
- Connect the other end to any USB-C port on the host Mac. Host must be on power and online.
- Press and release the target's power button, then immediately press and hold simultaneously left Control, left Option, right Shift, and power for exactly 10 seconds.
- After 10 seconds, release left Control, left Option, and right Shift but keep holding power for another 10 seconds until the host identifies the target in its Finder DFU panel.
For Apple Silicon desktops (Mac mini, Mac Studio, iMac, Mac Pro):
- Disconnect the target's power cable entirely.
- Connect the USB-C data cable to the designated DFU port.
- While holding the power button, plug the power cable back in and continue holding power for about 10 seconds until the host identifies the target.
Configurator exposes two actions on a DFU-mode target: Revive restores firmware and recoveryOS only and leaves user data alone, and Restore wipes the internal SSD and reinstalls a clean macOS along with firmware and recoveryOS. Restore is the standard wipe path for refurb intake.
Restore is fast on the storage side because the erase is cryptographic#
The storage portion of Restore is effectively instantaneous because the wipe is cryptographic. Every Apple Silicon Mac integrates the storage controller, Secure Enclave, and application processor onto a single SoC die. Every block written to the soldered NAND is encrypted with AES-256-XTS keyed by Secure Enclave material fused to that specific processor. Destroying the in-Enclave key material renders the entire NAND permanently unreadable in milliseconds, and that key destruction is what Restore performs. The remainder of the 10 to 25 minute wall clock is firmware and macOS reinstall, not erasure.
The practical upshot is that the wall-clock budget is the IPSW transfer, not the wipe.
The IPSW cache is the actual throughput lever#
Pre-download the IPSW files for each Mac model in the active inventory mix and drag them onto the DFU icon in Configurator. If Configurator is allowed to pull the IPSW from Apple's servers per unit, the wall clock per restore lands in the 20 to 25 minute range. With a local IPSW cache, it lands closer to 10 to 12 minutes, dominated by the on-target reinstall.
On a rig pushing 30 or more units per day, this single change is the biggest practical accelerator. It also reduces sensitivity to network conditions on the shop floor, which matters in operations running multiple parallel hosts on a shared upstream.
Since macOS Sonoma, Apple integrated revive and restore directly into Finder on the host Mac. A target in DFU appears in the Finder sidebar with Revive and Restore exposed. For most production refurb shops, Configurator 2 remains the standard because it surfaces ECID, supports automated workflows via Apple Shortcuts, integrates with Configurator's bulk operations, and pairs cleanly with both the USBHub3c and the ThunderSync5-C16 rigs.
What this means for the shop floor#
A shop deciding where to invest first should look at the rate-limiting step in its current intake. If the wipe step is the bottleneck, the USBHub3c is the standard entry point and the most common upgrade path for an operation moving from one-host-one-target into parallel. If the wipe step is already in good shape and downstream steps (functional test, cosmetic grading, photography) are the new bottleneck, more parallel wipe capacity does not help, and the ThunderSync5-C16 plus Blancco rig is overkill until the functional-test pipeline is automated to match. The upstream side of the same intake question, where to buy the lots that feed the rig, determines how much wipe capacity is actually warranted.
Either way, the unglamorous wins are the cable bin, the port diagram, and the local IPSW cache. Those three changes are the difference between a rig that scales and a rig that bleeds time on calls to support.
Related posts
Apple Silicon Mac refurbishing: a 2026 operations guide
Apple Silicon Mac refurbishing in 2026: module-swap economics, cryptographic erase via DFU restore, and Apple Business Manager release as the gating intake step. The bulk workflow, end to end.
The used Mac market in 2026: sizing, channels, and the AI demand layer
The used Mac market in 2026 has split into two economies: commodity M1/M2 MacBook Airs at $300-$600, and high-RAM Apple Silicon desktops trading like used enterprise GPUs. Sizing, channels, depreciation curves, and the AI demand layer through May.
MacBook buyback in 2026: specialist Mac buyers vs Gazelle and Decluttr
MacBook buyback rates in 2026: Gazelle and Decluttr pay 10 to 40 percent above Apple Trade In. Specialist Mac buyers like SellMac and OWC pay 20 to 40 percent more. Here is the May 2026 head-to-head with payout structure.
Written by
Priya PatelPriya Patel covers the used-Mac market for Macfax. Before joining she spent six years as a power-seller on eBay, moving roughly 1,200 Macs through the platform and building a private dataset of sale-price-vs-listing-price across every Mac SKU back to 2017. She writes about pricing, buyer and seller behavior across the major marketplaces, and where the secondary market actually clears versus where it's listed.
More posts by Priya →